How Are Replacement Windows Installed: A Step-by-Step Guide [2023]

Your home’s windows play a vital role in providing natural light, ventilation, and aesthetic appeal. Over time, wear and tear can lead to the need for replacement windows. Whether you’re looking to improve energy efficiency, update your home’s appearance, or enhance security, understanding the installation process is crucial. In this comprehensive guide, we will explore the step-by-step process of how replacement windows are installed, ensuring you’re well-prepared for this home improvement project.
1. Assessing the Need for Replacement Windows
The first step in the window replacement process is assessing the need for new windows. Some common signs include drafts, condensation between glass panes, rotting frames, or outdated styles. You may also want to replace your windows for improved energy efficiency, noise reduction, or to enhance your home‘s curb appeal.
2. Measuring and Ordering Replacement Windows
Typically, it’s recommended to have a professional measure your windows, but if you’re confident in your skills, you can do it yourself. Once you have the measurements, you can order your replacement windows from a reputable supplier. Remember to consider factors such as window style, frame material, and energy efficiency ratings during the selection process.
3. Preparing for Installation
Before the installation crew arrives, you’ll need to prepare your home. Clear the area around the windows, removing any furniture, curtains, or blinds. This will make it easier for the installers to access the windows and work efficiently.
4. Removing the Old Windows
The removal of the old windows is a critical step in the installation process. The installation crew will carefully extract the old windows, taking care to minimize damage to the surrounding structure. Depending on the window type, this may involve removing screws, nails, or trim. Once the old windows are out, they will dispose of them properly.
5. Inspecting and Repairing the Window Opening
With the old windows removed, it’s time to inspect and repair the window openings. The crew will check for any damage or rot in the window frame or sill. If necessary, they will make repairs to ensure a secure and watertight fit for the new windows.
6. Applying Flashing and Weatherproofing
Proper weatherproofing is crucial to prevent leaks and drafts. The crew will install flashing around the window opening to divert water away from the structure. They will also apply a waterproof sealant to the frame to ensure a tight seal.
7. Setting the Replacement Windows
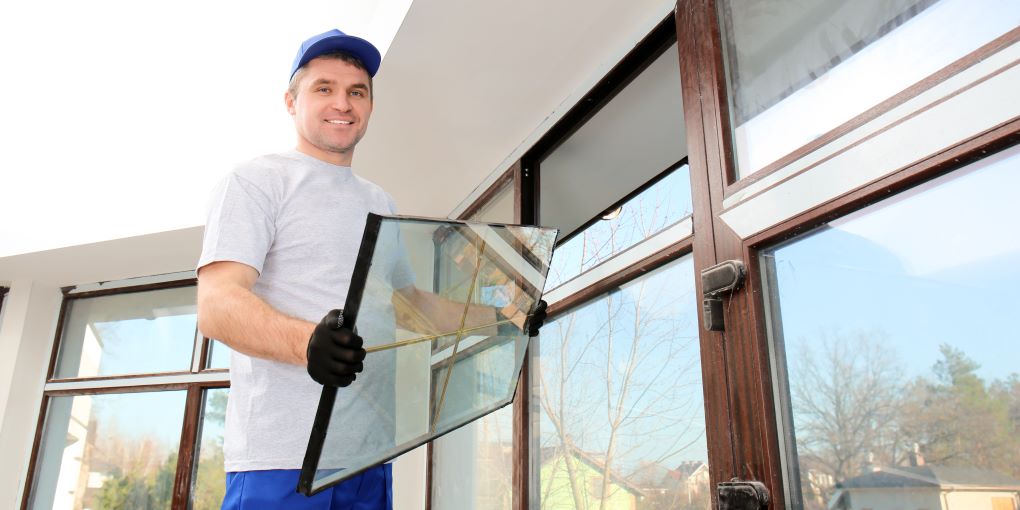
Now, it’s time to install the replacement windows. The crew will carefully position the windows in the prepared openings, making sure they are level and plumb. Depending on the type of window, they may use shims to achieve the correct alignment. Once the windows are in place, they will secure them to the framing with screws or nails.
8. Insulating and Sealing
To maximize energy efficiency, the installers will insulate around the window frame using expanding foam or fiberglass insulation. This step helps to fill gaps and prevent air infiltration. After insulating, they will apply a bead of caulk around the exterior of the window to seal it against moisture and drafts.
9. Installing Trim and Casing
To complete the window installation, trim and casing are added for both aesthetic and functional purposes. These finishing touches cover the gaps between the window frame and the wall, providing a polished look. The trim and casing can be customized to match your home’s interior design.
10. Cleaning and Final Inspection
Once the installation is complete, the crew will clean up the work area, removing any debris or construction materials. They will also ensure that the windows open and close smoothly, checking for any issues with the operation. A final inspection is conducted to make sure everything is in order.
11. Testing the New Windows
Before considering the project complete, it’s essential to test the new windows thoroughly. Open and close them to ensure they function as expected. Test the locks and latches to guarantee security. Additionally, check for any drafts or air leaks around the windows.
12. Enjoying Your New Replacement Windows
With the installation process complete and the new windows in place, you can now enjoy the benefits of your replacement windows. You’ll likely notice improved energy efficiency, enhanced curb appeal, and a more comfortable living environment.
Key Takeaway
The installation of replacement windows is a meticulous process that requires careful planning and execution. By understanding the steps involved in this home improvement project, you can better prepare for the process and communicate effectively with your installation crew. Whether you’re replacing windows for practical or aesthetic reasons, the result is a more comfortable and energy-efficient home with a fresh, updated look. Don’t hesitate to consult with professionals to ensure your replacement windows are installed correctly, providing long-lasting value and satisfaction for years to come.
